

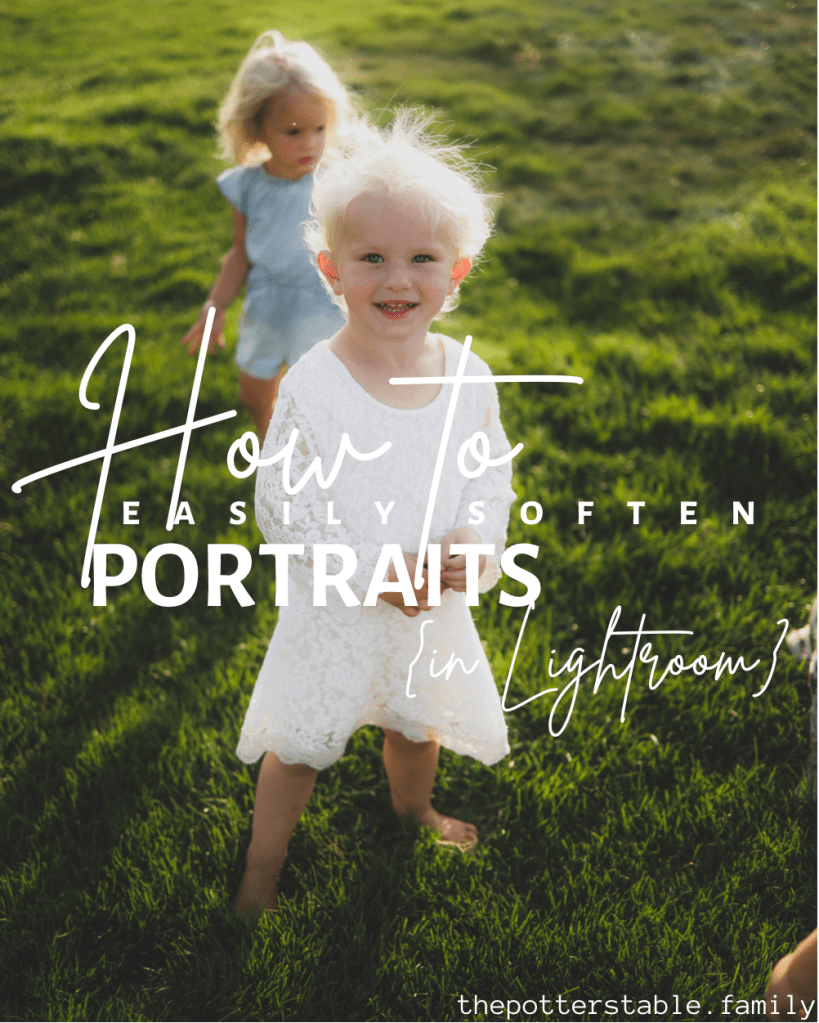
Portraits can be tricky, and often make you look blotchy or wrinkly😬. In this tutorial I am going to show you how you can edit your picture to look more soft, hop it helps!!:)
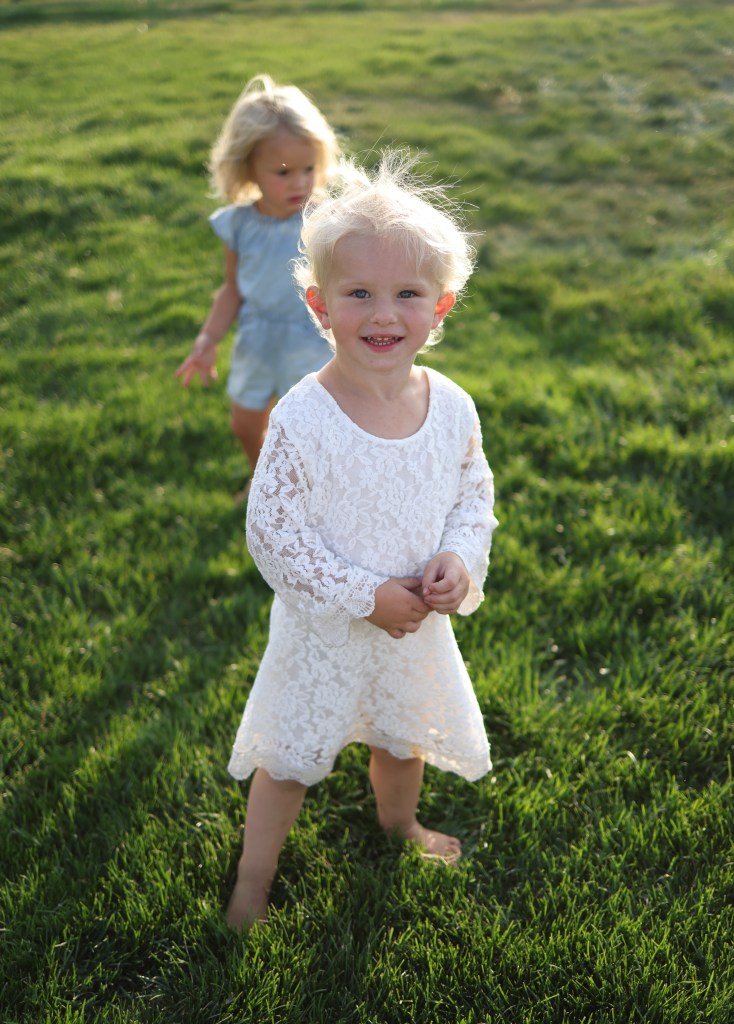
In this tutorial I am going to use a picture of my amazing niece {with my other amazing niece peeking through the back:) }.

Here is the picture before, which I mean my nieces are in there so in my opinion it’s still adorable no matter if it’s edited 😆.
This is really simple, all you need to do it edit how you prefer then decrease clarity and texture!! Which is weird for me because I normally increase both!! But on portraits it looks better to decrease them:).
Ok, let’s do this thing!!
- Open Lightroom
- If you like to edit in your own way do so now… like contrast-exposure-color- etc.
- Click “clarity” and -30 then click “texture” and -10.
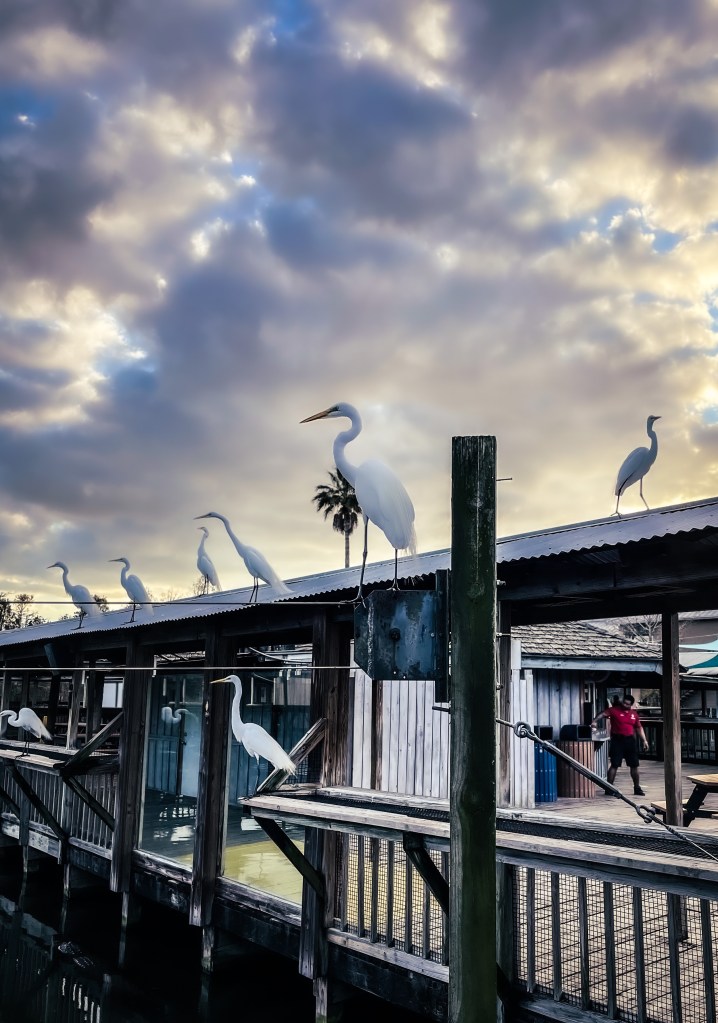
Some images it looks better to increase the texture and decrease clarity, or visa versa… just play with it!! Like this one is -100 texture, and +96 clarity with other coloring of course:).

Like the picture edit?
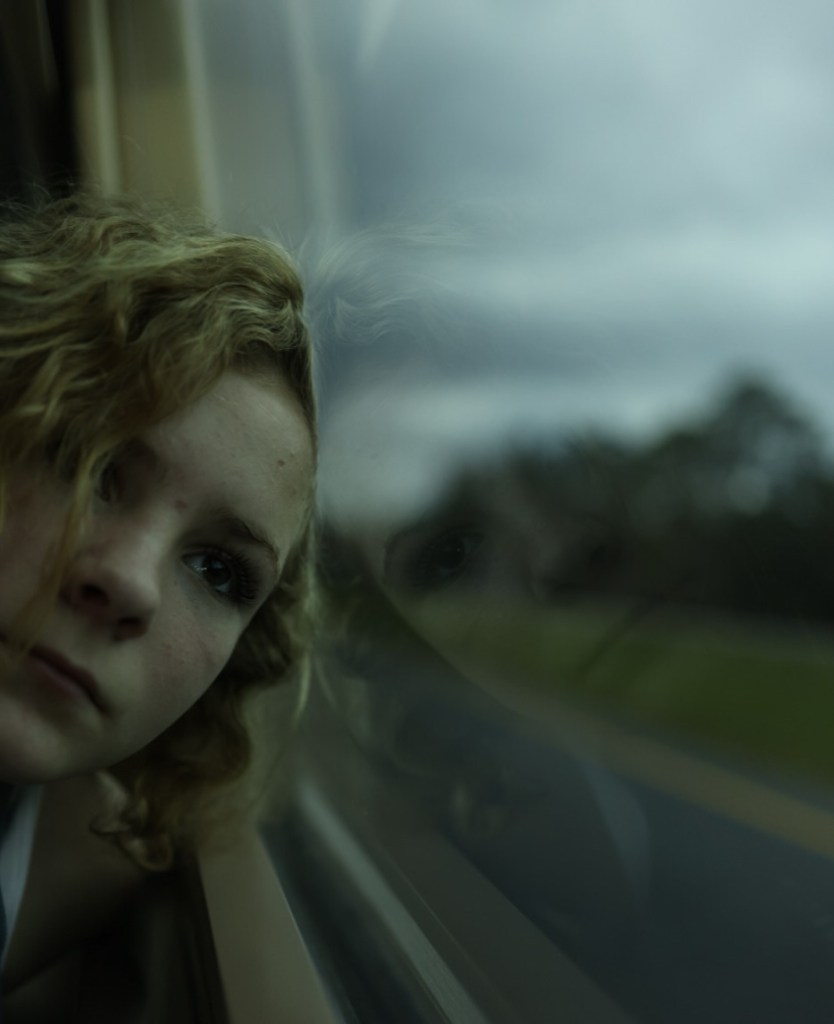
In this picture of Dakota, I did these edits:
- Exposure: -.56
- Contrast: +44
- Shadows: +100
- Temp: +7
- Vibrance: -22
- Texture: -11
- Clarity: -37
- Dehaze: -30
Here’s another picture I used this technique on…
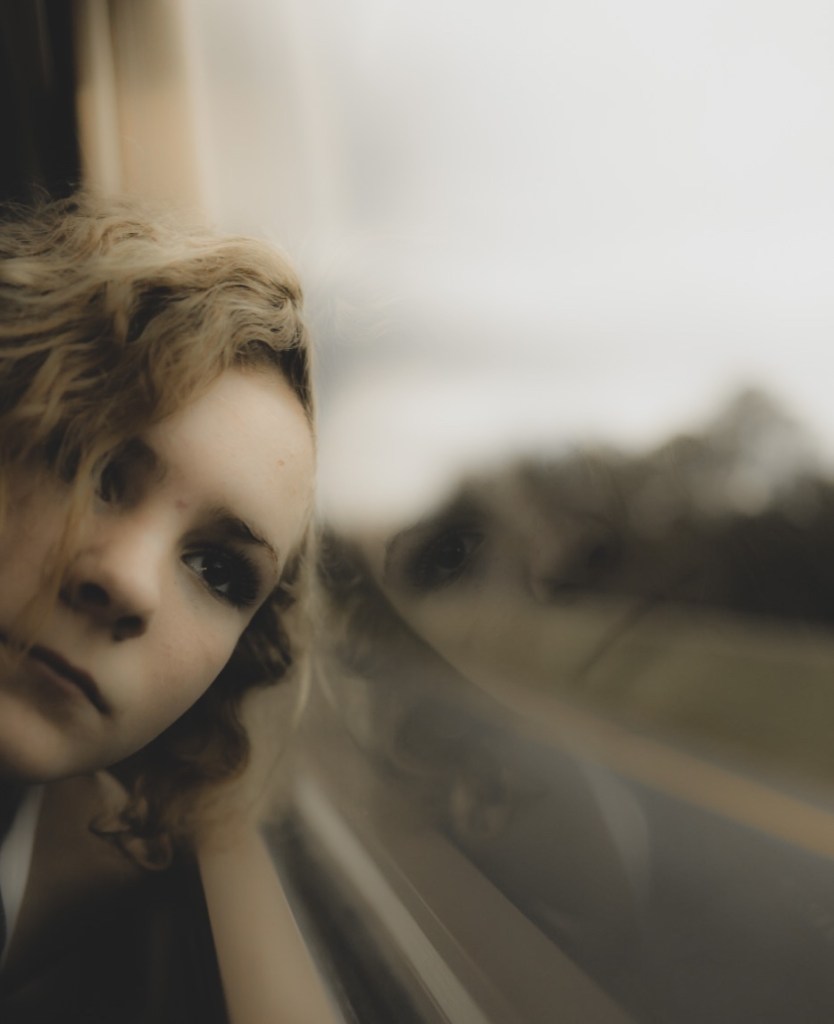
Photography ❤️📸

