


Photography is so fun!! It takes a moment and holds on to it, it helps you look at things in different perspectives, it elevates your creativity to heights you never new you could reach, it gives peace and joy to the heart, and helps you observe the beauty Our Creator has given to us!! Weather you photograph people, food, or landscape, having the right camera settings is critical to achieve professional looking photos :).

While having automatic settings can make things easier, switching to manual focus takes your photos to the next level. You can adjust your settings as a way to create creative photography or to simply be more “pro.” 😉 I know it can seem intimidating at first, but really the best advice I can give is to just keep playing with your settings!! You will get there!! I hope this post can make it easier for you to understand the three fundamentals of manual settings and help you reach your goal of taking awesome photos 😎.

Basics of the three main camera settings:
ISO: ISO plays a big role in light sensitivity; the higher the ISO, the brighter but more grainy picture you will get; the lower the ISO, the crisper but darker picture you will get. Sweet spot: 100–800 shutter speed.
Shutter speed: This will determine the camera’s light sensitivity and motion. The higher the shutter speed, the more “frozen” your picture will be; the lower the shutter speed, the more blurry it will be. Sweet spot: 1/125s-1/800s.
Aperture/f-stop: This is what creates a more blurry background vs. having everything in focus; the higher the f-stop, the more everything will be in focus; this is better for landscape photography. The lower the f-stop, the more focused your subject will be and the background will be more blurry; this is better for most everything else;). Sweet spot: This is based on what photos you are getting, but for portraits, you want to be around f1.8-f4.5.
(All lenses have different f-stops, so don’t worry if yours can’t go as low or as high as I am saying.)
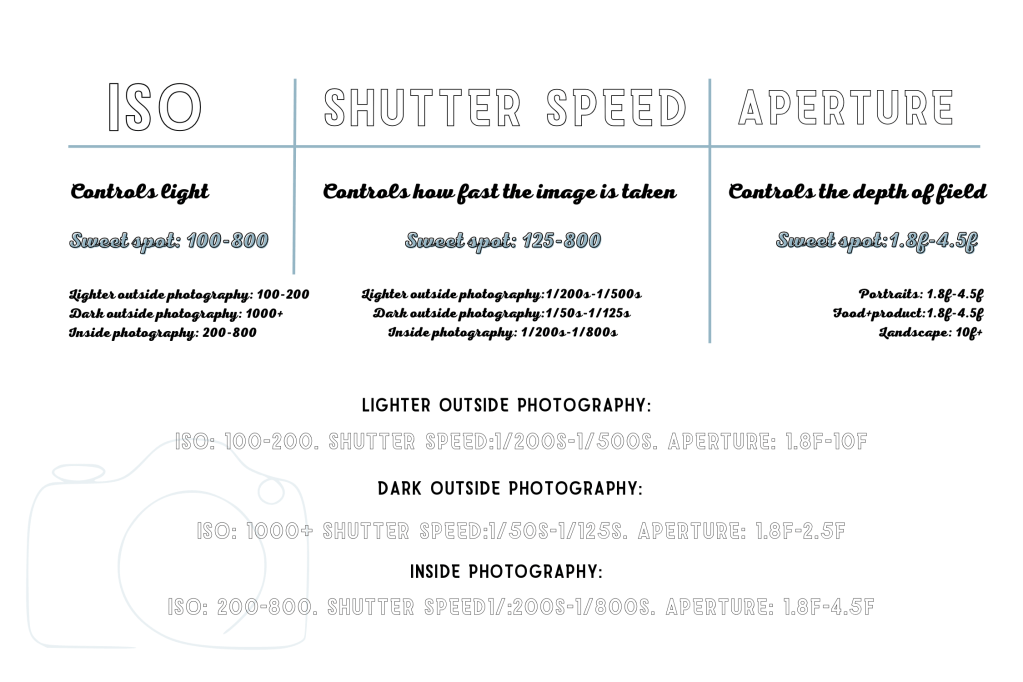
Use this guide to help you get goin’!! 👆🏼
Want to know more?! Keep reading…

Image examples:
{High ISO example}

Example of higher ISO, when taking star pictures it will be very dark so you need to up your ISO, it’s easy for it to look grainy or not sharp, so make sure you use something like a tripod or do what I did and lay on the ground to hold the camera still on my stomach to keep it from moving 😂.
{lower ISO examples}


I typically use lower ISO in everyday photography; trying to stay lower will help sharpen images and controls your light.
{high shutter speed examples}
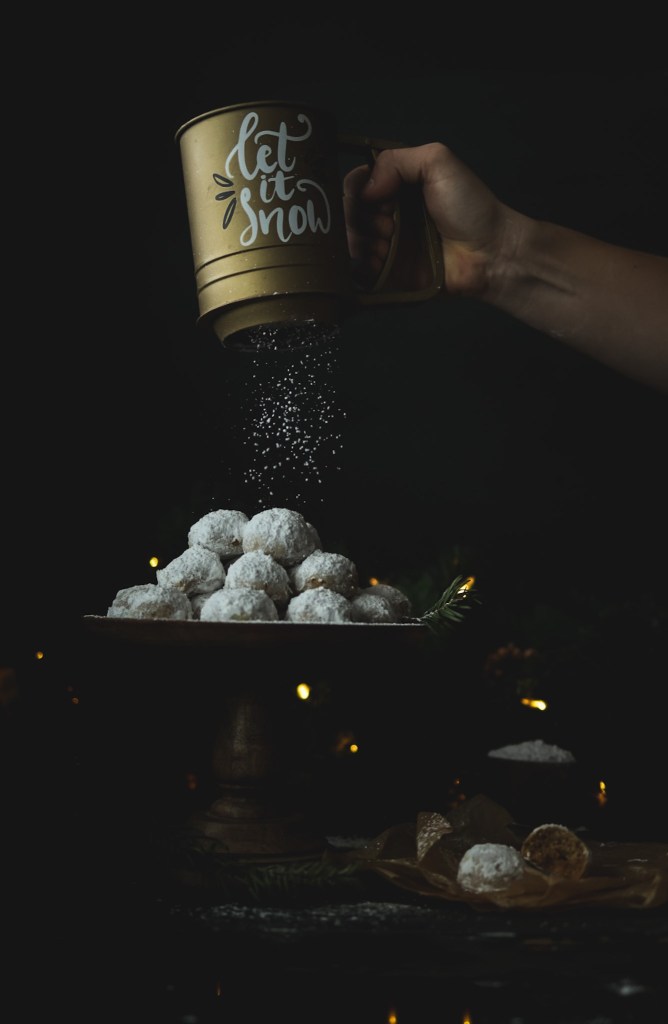


Examples of higher shutter speeds. Increasing the shutter speed can help you “freeze” objects like powder sugar, or liquids, or etc. Going to high can create grainy pictures so use caution when taking higher shutter speed images.
{low shutter speed examples}


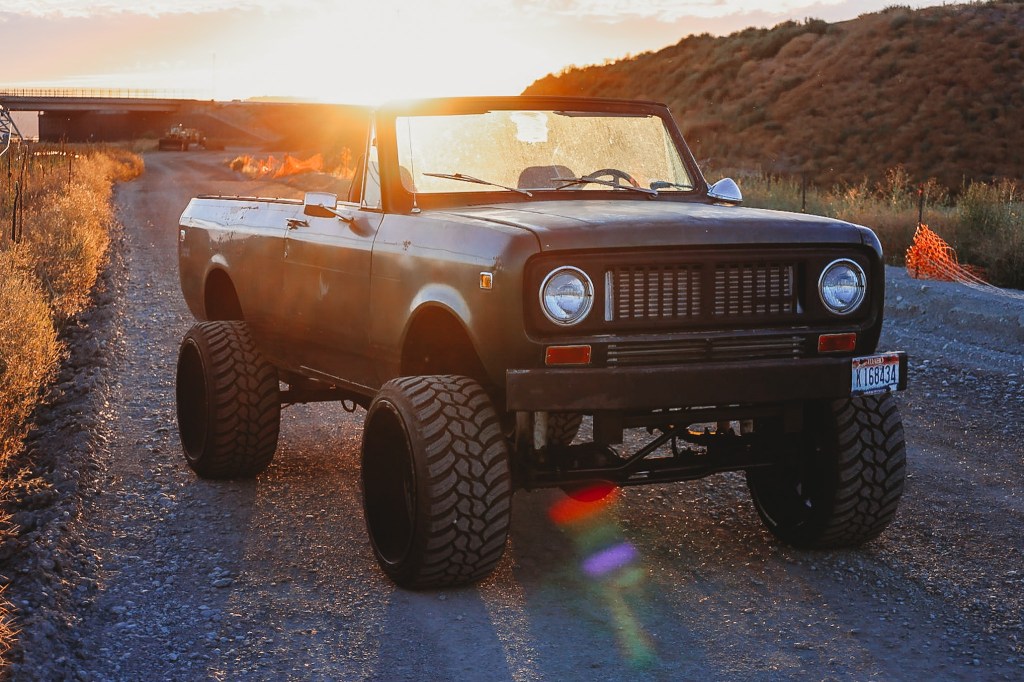
When a good mid-range of shutter speed is key for sharp images, you can use lower shutter speed to its advantage. Take the roller shot of the 4th gen dodge for an example, using the lower shutter speed gave this image more of an “action” feel. (All tho with roller shots you need to be moving as well, I was in back of my cousins truck 😆 but have also done it on the back of a quad!! ) or take the star image for an example, I already had high ISO, so to make it bright enough to see the stars, I had to lower the shutter speed.
{Wide aperture examples}
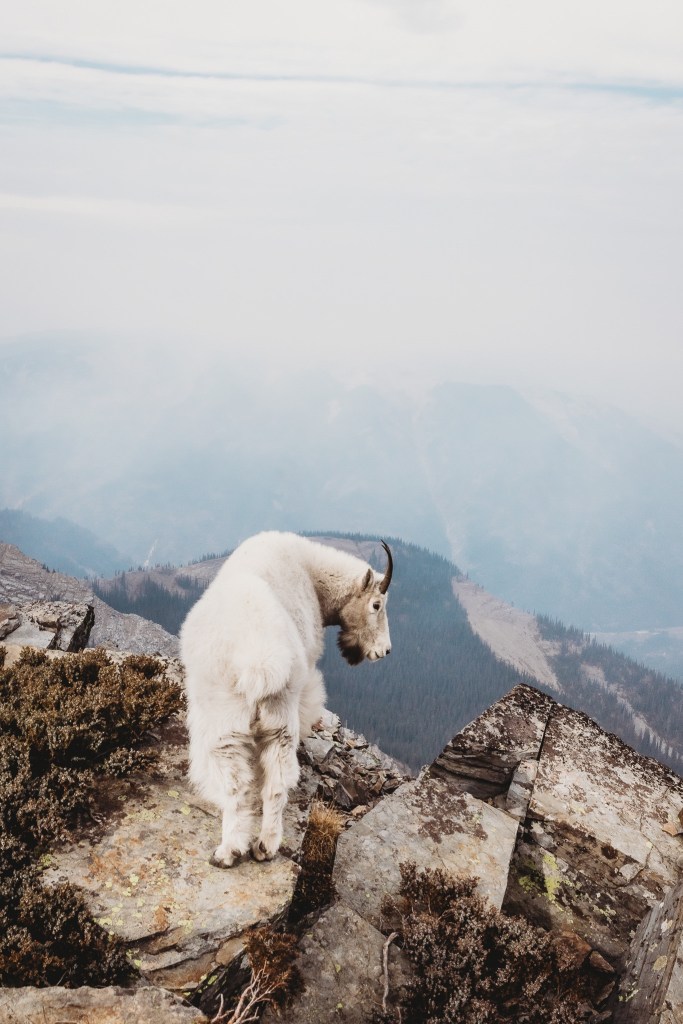

Using wide aperture helps to keep everything in focus, this is best for capturing landscapes or any other image you want to keep everything in focus.
{Small aperture examples}

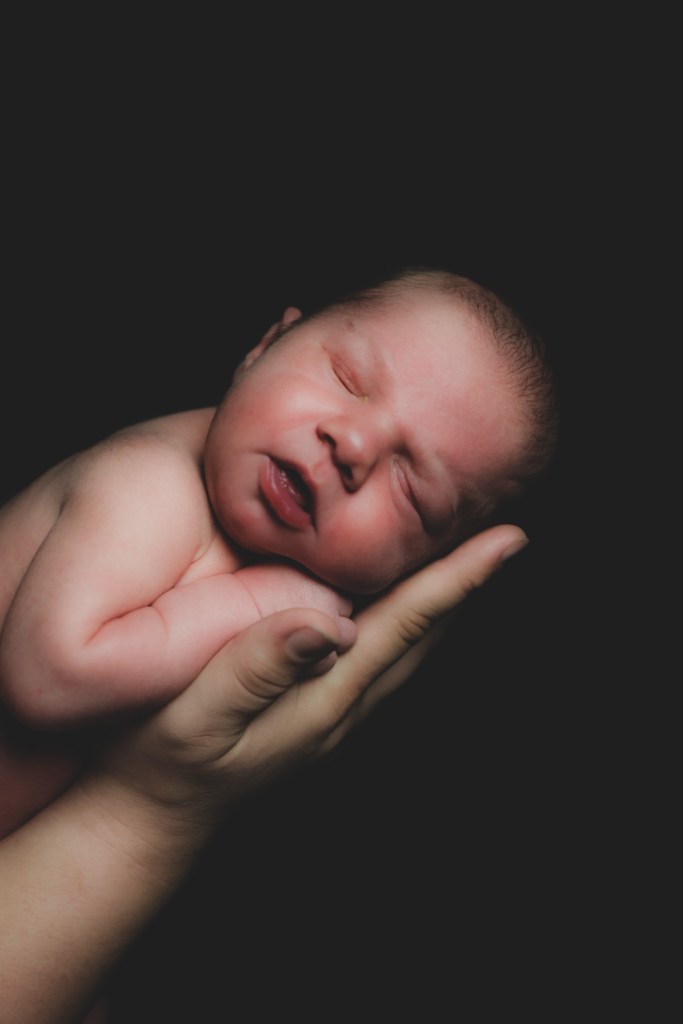

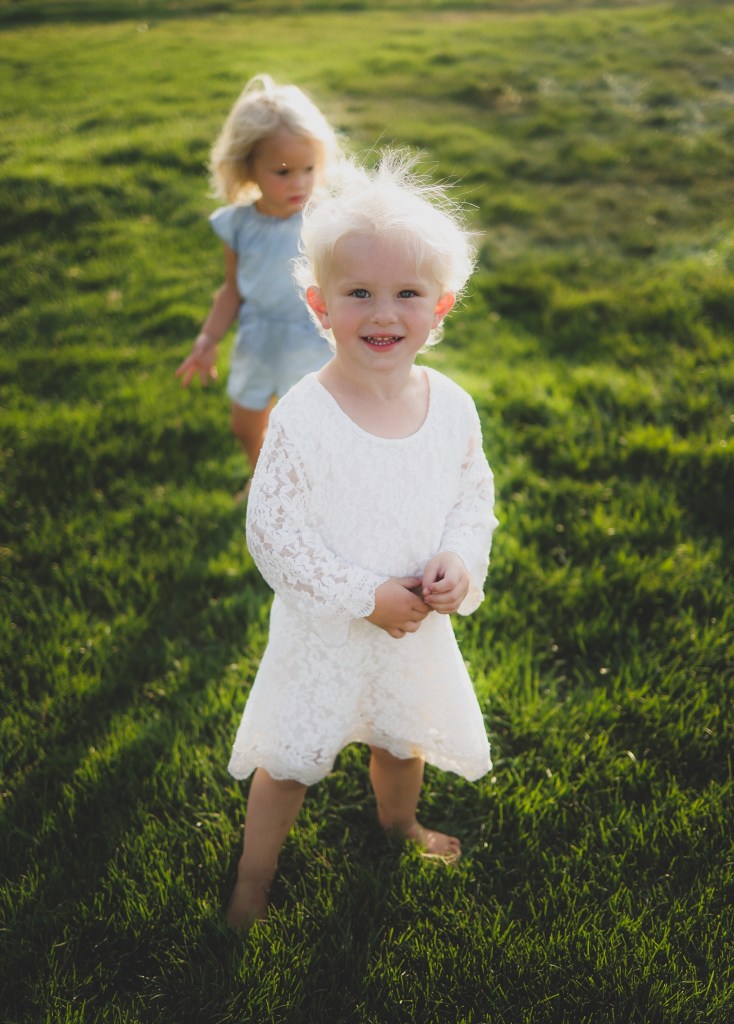
Smaller aperture helps you to focus on the subject and blur out the background. Give this picture of my adorable niece above as an example, she’s all in focus while the background is pretty blurry, including her cousin 😉. Or how it can get so close to an object like the raindrop on the clover leaf above, even being able to see my reflection of taking the picture in this little drop!!

Photography is a wonderful experience, and I hope this helps you take your photography to the next level, not overwhelming you but giving you encouragement to overcome the fear of taking pictures!!
The best advice I can give you is to get to know your camera like a best friend!! 😂 Know when it needs you, when you need it, how it operates, how the both of you can work together to make the world a better place… you know, best friend kinda stuff!! 😉 Hope this helps 🙂
